

installation
flushmount
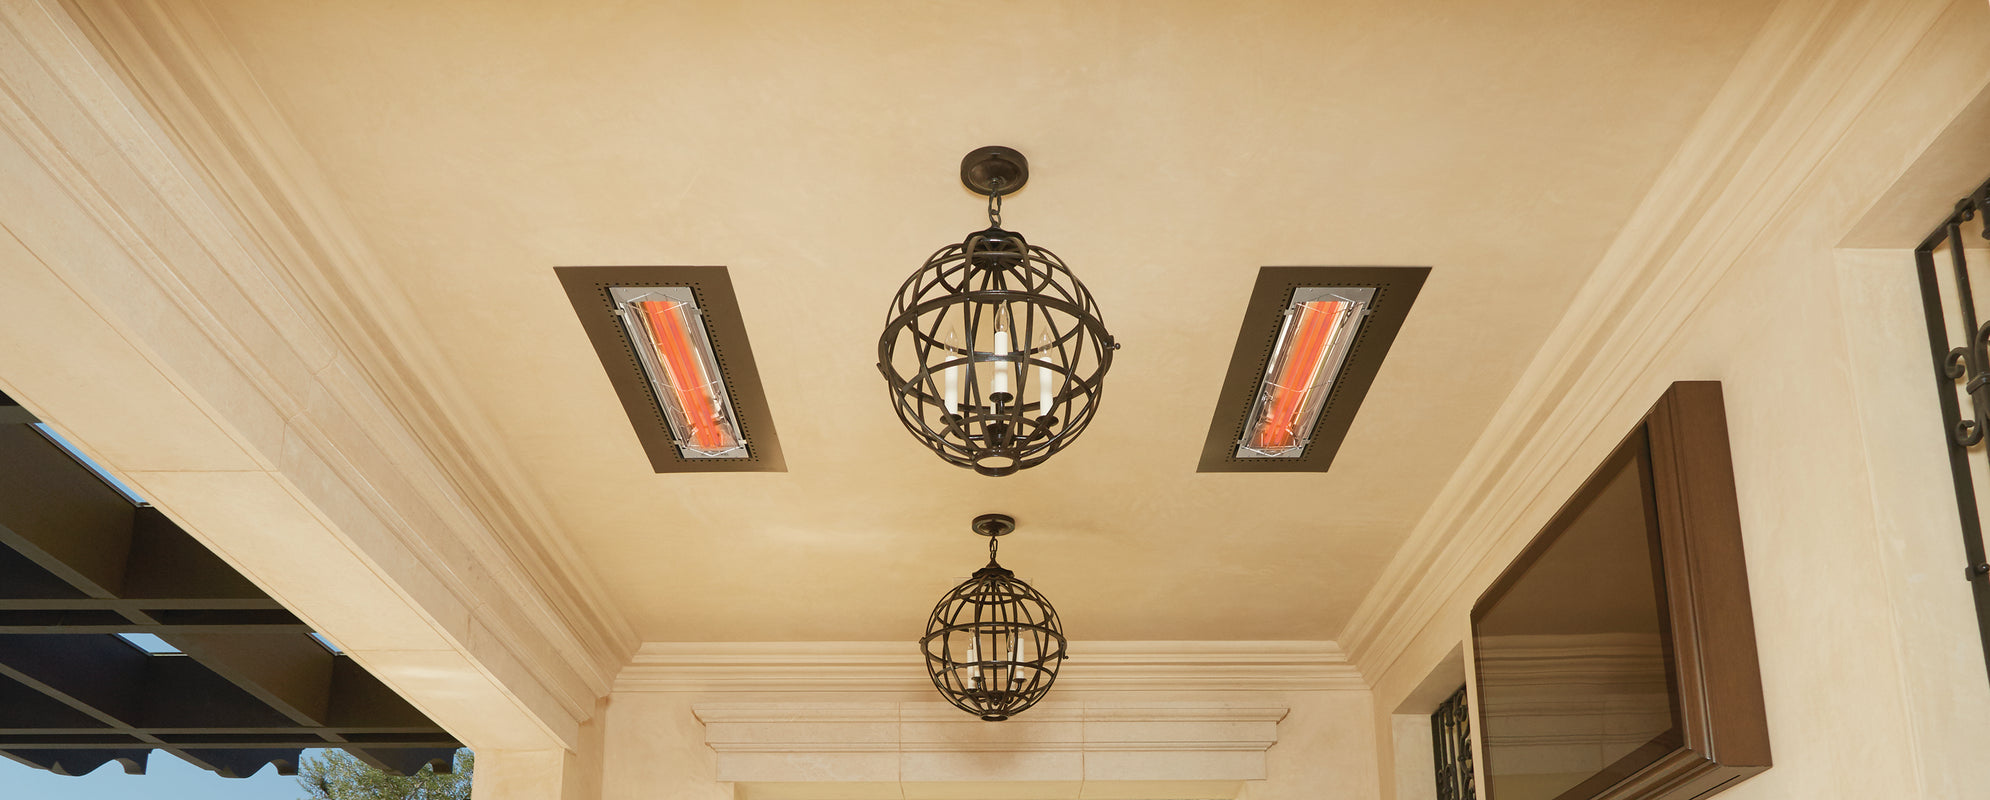
Flush mounted Infratech heaters are as stylish as they are versatile – they can be installed with the edges exposed, or can be partially covered by a drywall, plaster, stucco or tongue-and-groove ceiling treatment. Our team is frequently called upon to collaborate during initial planning stages, in order to provide comprehensive, low-profile flush mounting heating solutions that blend seamlessly into a property’s décor.
Step 1
Frame the pocket that will house the heater with a one hour-rated fire containment box. Note: Frame and heaters cannot be mounted on a sloped/pitched ceiling.


step 2
The junction box must be mounted outside of the lined pocket. You can choose to mount the junction box in a variety of locations, depending upon where you’ll be accessing it.
step 3
Install the frame into the finished pocket. You may choose to leave all four inches of the trim exposed, or partially cover it with a decorative ceiling (1/2″ clearance is required from ventilation holes).


step 4
Install the heater (heater must face horizontal to the floor) and adjust the tabs to set the heater flush with finished ceiling.
WARNING: FRAME AND HEATERS CANNOT BE MOUNTED ON A SLOPED/PITCHED CEILING. FLUSH MOUNT APPLICATIONS MUST ALWAYS BE INSTALLED WITH HEATERS HORIZONTAL TO THE FLOOR ON A FLAT, NON-SLOPED CEILING.